Decided to have look at the Raspberry PI after reading about the Astro PI project
The Raspberry PI have been around for some time and exist now in several versions. The one I purchased was the Raspberry PI B+
Together with that I got the Sense Hat module.

Besides these two components, a micro SD (16 GB in my case) is needed and an USB power supply.
Download the linux image and copy it to the SD ( great guide here )
I downloaded NOOBS and installed the image (formatted too many times, really). Then I hooked up the components and inserted the SD card. Added a monitor, keyboard and mouse and finally power.
That was easy. I now have a running, working linux system. There were some more steps to do, to get really ready, here is a video of a working system and what the sense HAT module is. (from The Raspberry PI Guy)
I have installed some python packages for interface, database and communication. The process is simple as long as you have connected the Raspberry PI to the net.
Update packages that may be old in the NOOBS image. Open a terminal and enter the following commands
sudo apt-get update

sudo apt-get install sense-hat pillow tightvncserver mysql-server python-mysqldb
References:
https://www.raspberrypi.org/documentation/hardware/sense-hat/
https://www.raspberrypi.org/documentation/remote-access/vnc/
http://raspberrywebserver.com/sql-databases/using-mysql-on-a-raspberry-pi.html
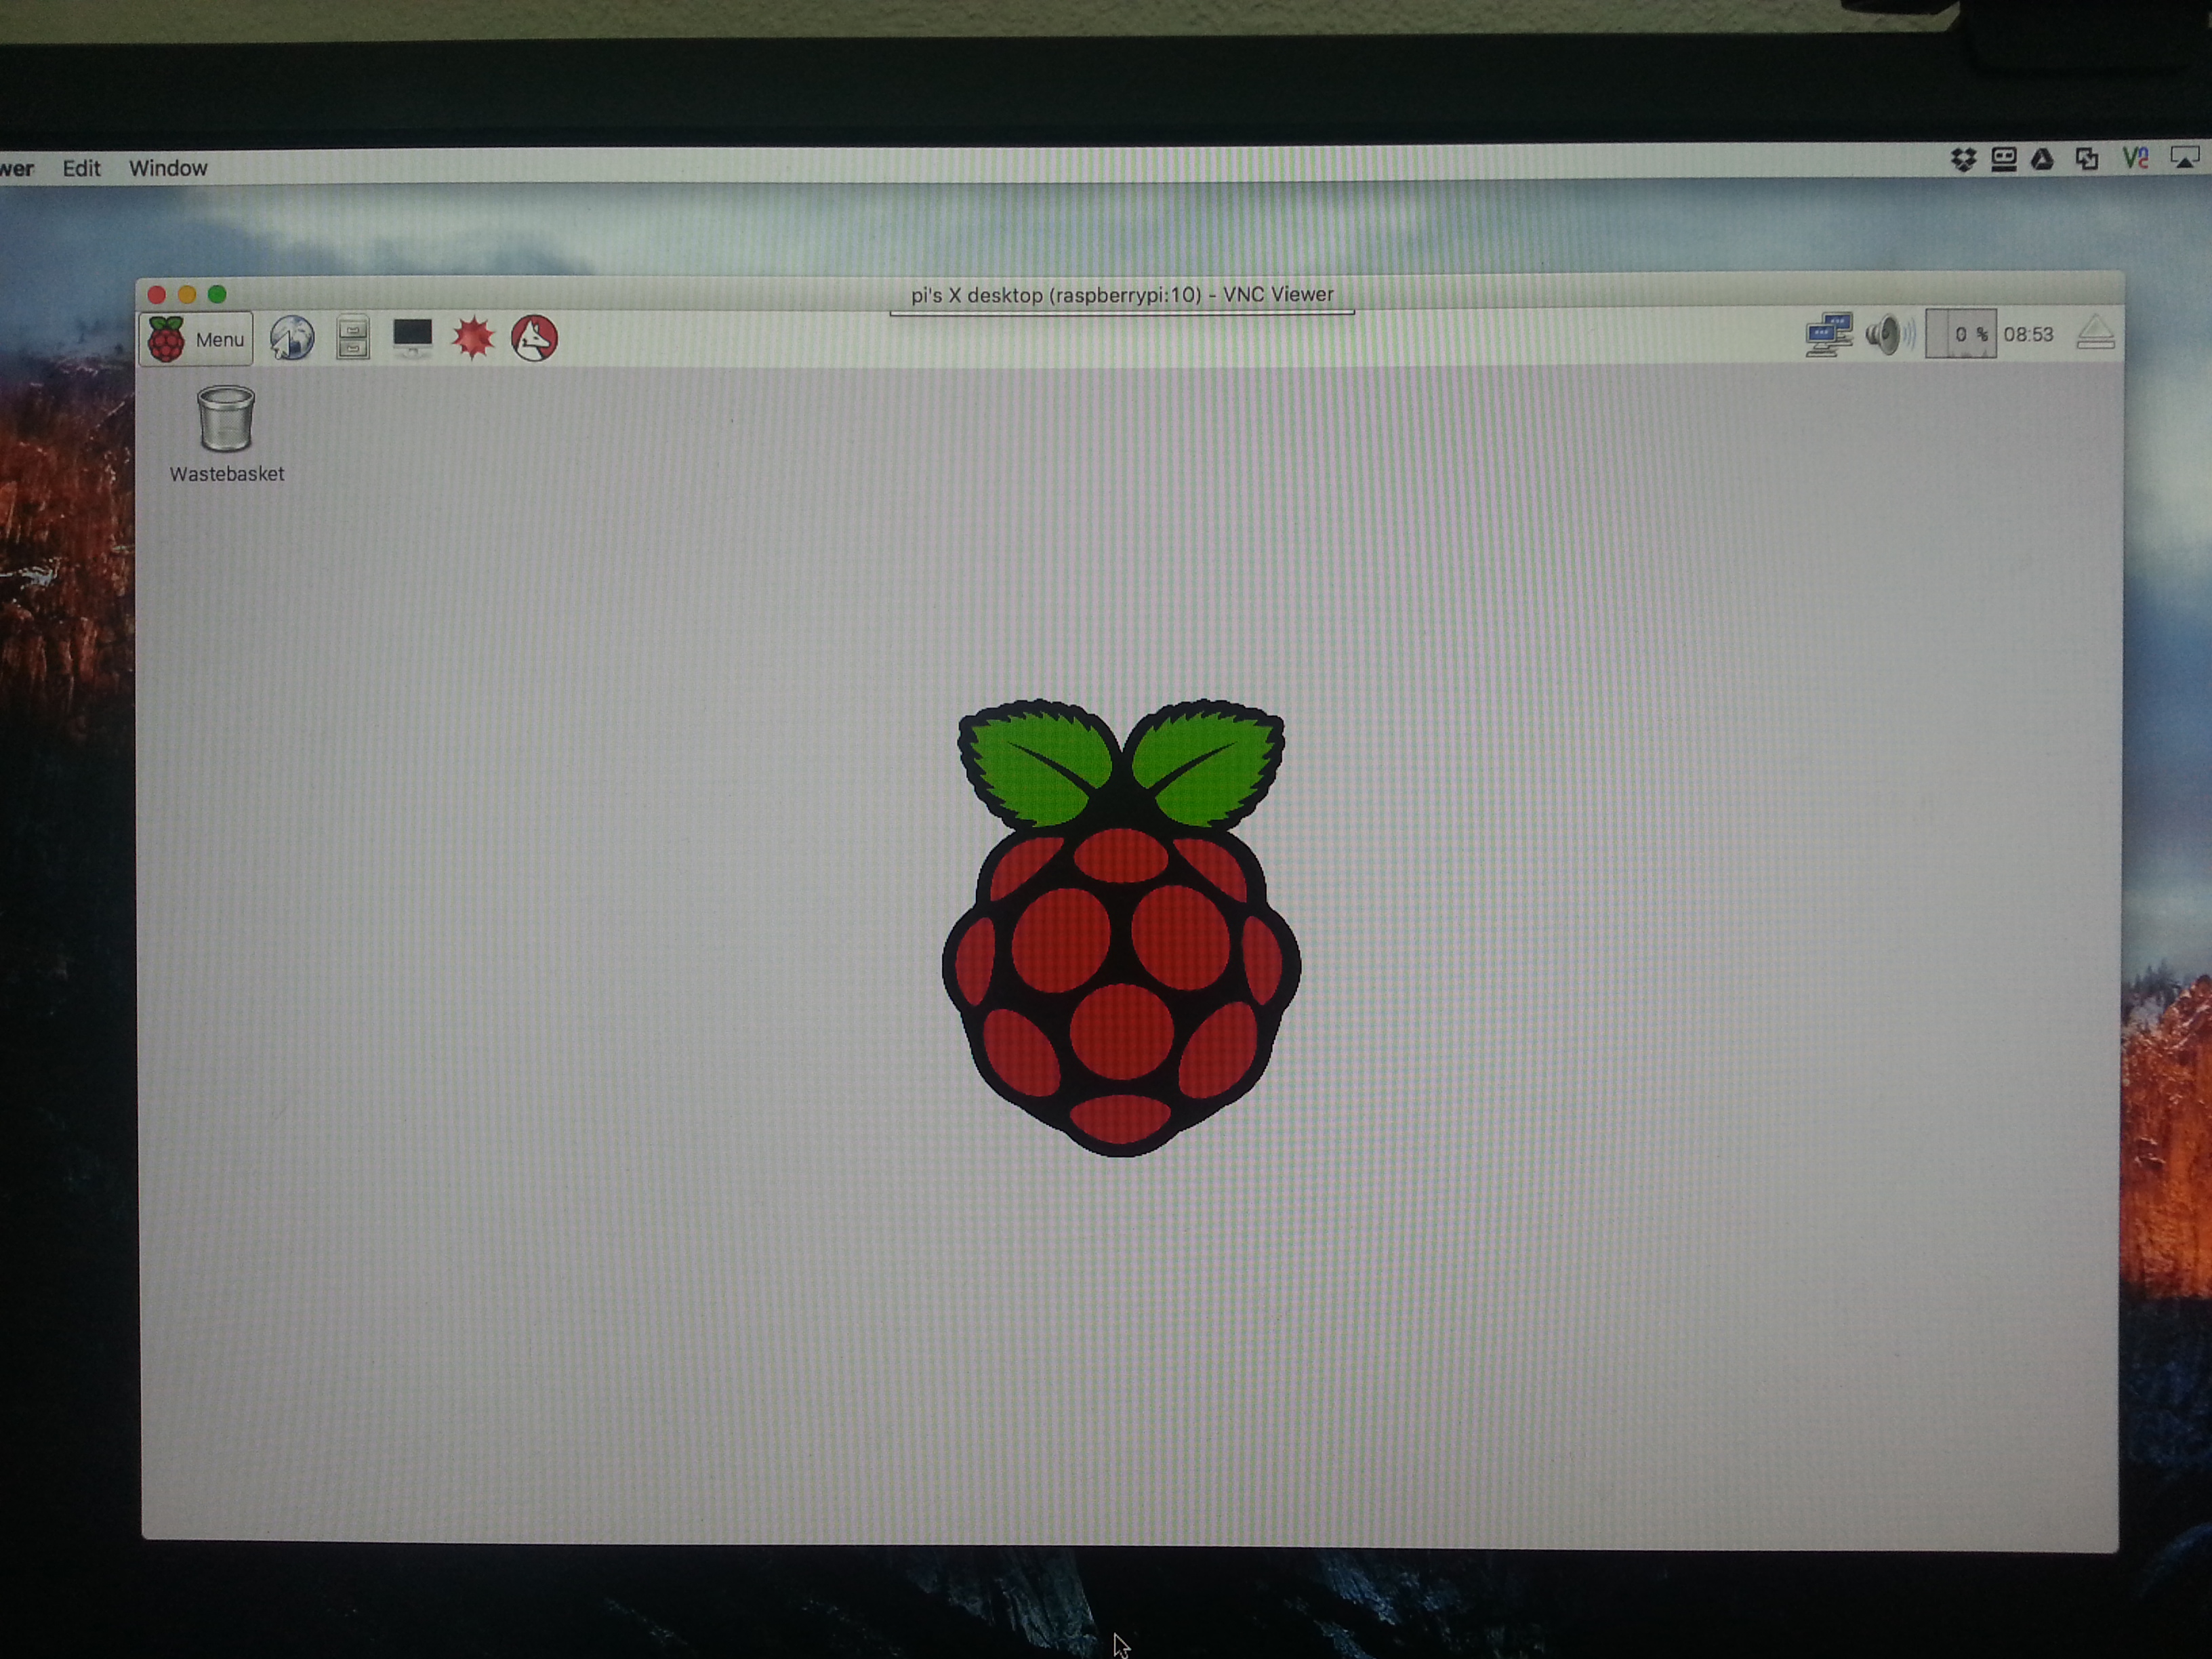
I had some issues with the VNC server, when X: is running then display 0 is already in use. (I choose to use display 10 )
One other important step is to set the password for the PI user if you want to use ssh from a remote system.
Now the system is (almost) ready. Some code is needed to read the data from the Sense HAT and write them in the database.
#!/usr/bin/python

 from sense_hat import SenseHat

import time

import MySQLdb

db    = MySQLdb.connect(host="localhost", # your host, usually localhost

user  ="user", # your username

passwd="password", # your password

db    ="database") # name of the data base

cur   = db.cursor()

sense = SenseHat()

temperature = sense.get_temperature()

pressure = sense.get_pressure()

humidity = sense.get_humidity()

# formula see below

temp = round ( 0.0071*temperature*temperature+0.86*temperature-10.0,1)

humidity = round ( humidity*(2.5-0.029*temperature),1)

pressure = round(pressure, 1)

dateTime = time.strftime("%Y%m%d%H%M")

sql="insert into weather(datetime,temp,pressure,humidity) values ('%s','%s','%f','%f','%f');" % (dateTime,temp,pressure,humidity)

cur.execute(sql)

db.commit()

db.close()
Calculation for the temperature. As the sensor is close to processor and led’s the value returned is imprecise. This is the formula to compensate.
It is now possible to get one reading from the Raspberry PI Sense HAT and write it to the database.
201512252355 23.3 978.9 67

201512281740 23.3 972.9 64.1
Leave a Reply
You must be logged in to post a comment.